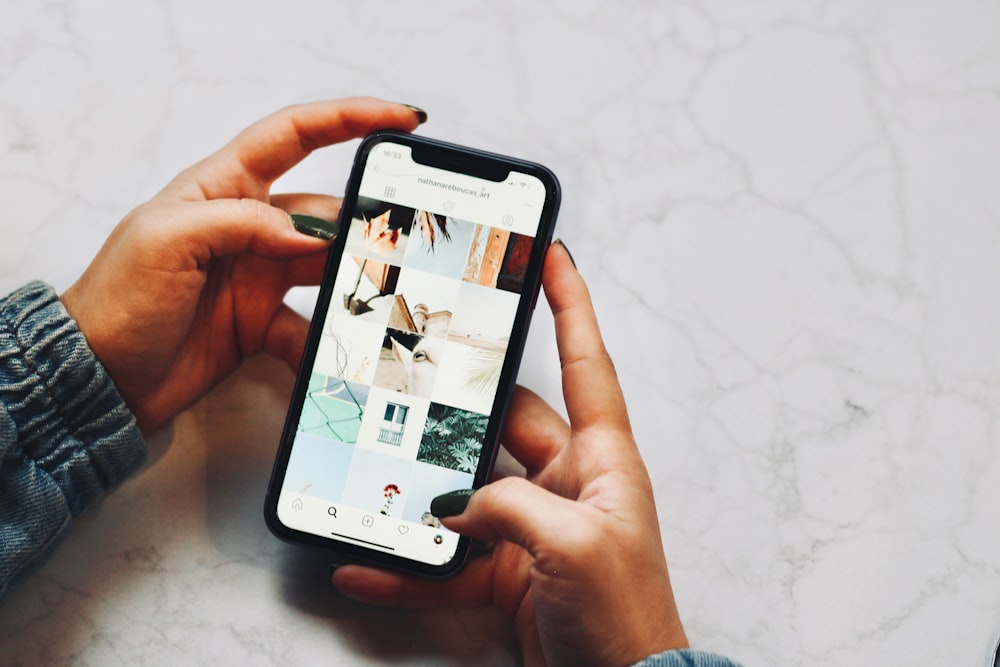
Everyone loves to take pictures and wants to show them to their friends and family. But, there are a few images that are only reserved for you and not for other people.
And the last thing you would like others to go through those images while they are swiping through the images of your last trip.
Fortunately, there are a few ways you can secure your images and hide them on your iPhone. Today, we will share with you a couple of different methods to hide or secure your image.
Hide Photos Using HIDE Feature

The default app Photos actually have the feature to hide the photos directly from the applications. The process is quite simple; you simply hide the photo. The images then move to a hidden location. You will be able to see the images after following certain steps.
This HIDE feature is great for images that you don’t want to see regularly or want to be in the gallery for everyone to see.
Keep in mind that these hidden images are located where other images are stored. Just because they are hidden, they will be invisible. However, if someone knows how to access hidden images, they can easily do so in just a few steps.
How To Hide Photos On iPhone

When you get a new phone, it doesn’t have any hidden albums. But, after hiding your first photo, it creates one which is used to store all your hidden images.
To hide the images –
- Open The Photos application.
- Find the picture you want to hide.
- Tap on the share button.
- A list of operations will open up.
- Select HIDE.
- Confirm your selection.
How To Unhide Photos On iPhone
Just like hiding the picture is easy, so does unhide it. To unhide the images –
- Open the Photos App.
- Tap the Album > Hidden.
- Now, select the pictures you want to Unhide.
- Tap the Share button > Unhide.
Lock Photos Using Notes

Perhaps, you didn’t like the HIDE method to secure your personal images. But, maybe because of how easy it is to unhide the images, you want something more secure, something password-protected.
If that is the case, you can do something with Notes. For example, you can move the image to a new Note and add a password to it.
Unfortunately, this only works with still images. It is ineffective with live photos and videos.
How To Lock Images Using Notes
Before starting with this method, ensure that you have your locked feature enabled in Notes. Once you are ready with locked Notes, follow the steps given below.
- Open Photos, Find the images you want to lock.
- Tap on Share.
- Select Notes.
- Now, select the Save It in new Notes.
- Tap Share > Lock Note.
- Type your password for confirmation.
- Now, Delete the original image from the Photos.
The last step is important because, without it, your saved image will have an unlocked copy in the Photos application.
How To Access Locked Images In Notes
After saving the images in the Notes, accessing them with the password is easy. To access the saved images –
- Open the Note.
- Tap to View Note.
- Type in the Password to see all of the pictures.
- Tap Move to bring images back to Camera Roll.
Using Third-Party Applications
If you don’t want to put yourself through the hassle of such complex steps, you can simply use some third-party application that you can get from the thenewpiratebay. These applications are like a password-protected vault to keep your images safe and secure.
Some of the applications are –
- KeepSafe
- TouchyNotes
- KYMS
That being said, the original images will still be there in Photos. You would need to delete it from the photos and trash bin to secure the images in the applications completely.
Wrapping Up!
We have received many messages from our readers on how to hide images on the iPhone. You will be surprised to know that hiding any photos and videos on an iPhone is as simple as taking photos.
Depending on how much security you want for your photos, there are different ways to hide or secure your personal photos from prying eyes.
Hopefully, this article could give you the solutions you were looking for. We have tried to keep our steps as simple as possible for better understanding.
If you face any problems implementing the methods, reach out to use. We will try to give you a better explanation.
Read Also:


